Run a Five Node Network with Avash
warning
Avash is deprecated and is being replaced with the Avalanche Network Runner
Avash is a development network for running a test or private Avalanche network on your local machine. You can configure and automate the local network to be in any state that you wish. This greatly accelerates local development work and testing.
Dependencies
To get started make sure that you have the latest-and-greatest versions of each dependency.
Golang
First, confirm you have the latest version of Golang installed and if not then install it. This tutorial uses go1.17.1.
go version
go version go1.17.1 darwin/amd64
AvalancheGo
Next, confirm you have the latest version of AvalancheGo installed and built. This tutorial uses avalanche/1.6.0.
cd /path/to/avalanchego
git fetch -p
git checkout v1.6.0
./scripts/build.sh
...building
...building
Build Successful

./build/avalanchego --version
avalanche/1.6.0 [database=v1.4.5, commit=43ab26923909bf5750c1edeb8477a3b912e40eaa]
Avash
Then, confirm you have the latest version of Avash installed and built. This tutorial uses v1.2.0. Call the help command to confirm Avash built properly.
cd /path/to/avash
git fetch -p
git checkout v1.2.0
go build

./avash help
A shell environment for launching and interacting with multiple Avalanche nodes.
Fire Up a Local Network
With all the dependencies properly built you're now ready to fire up a local Avalanche network. In this example we'll run a five_node_staking.lua script which comes bundled w/ Avash.
Five Node Staking Script
Avash lets you automate your development environment to be an arbitrary number of local AvalancheGo instances with a unique configuration for each instance. The five_node_staking.lua script, for example, fires up a local Avalanche network with 5 full AvalancheGo Nodes. You can interact with each individual node over RPC.
In the following five_node_staking.lua script notice you can run and configure an arbitrary number of full nodes. You are limited by the number of staker keys in the Avash certs/ directory. AvalancheGo ships with 7 staker keys.
Configure each node separately by passing in valid AvalancheGo configuration arguments.
cmds = {
    "startnode node1 --db-type=memdb --staking-enabled=true --http-port=9650 --staking-port=9651 --log-level=debug --bootstrap-ips= --staking-tls-cert-file=certs/keys1/staker.crt --staking-tls-key-file=certs/keys1/staker.key",
    "startnode node2 --db-type=memdb --staking-enabled=true --http-port=9652 --staking-port=9653 --log-level=debug --bootstrap-ips=127.0.0.1:9651 --bootstrap-ids=NodeID-7Xhw2mDxuDS44j42TCB6U5579esbSt3Lg --staking-tls-cert-file=certs/keys2/staker.crt --staking-tls-key-file=certs/keys2/staker.key",
    "startnode node3 --db-type=memdb --staking-enabled=true --http-port=9654 --staking-port=9655 --log-level=debug --bootstrap-ips=127.0.0.1:9651 --bootstrap-ids=NodeID-7Xhw2mDxuDS44j42TCB6U5579esbSt3Lg --staking-tls-cert-file=certs/keys3/staker.crt --staking-tls-key-file=certs/keys3/staker.key",
    "startnode node4 --db-type=memdb --staking-enabled=true --http-port=9656 --staking-port=9657 --log-level=debug --bootstrap-ips=127.0.0.1:9651 --bootstrap-ids=NodeID-7Xhw2mDxuDS44j42TCB6U5579esbSt3Lg --staking-tls-cert-file=certs/keys4/staker.crt --staking-tls-key-file=certs/keys4/staker.key",
    "startnode node5 --db-type=memdb --staking-enabled=true --http-port=9658 --staking-port=9659 --log-level=debug --bootstrap-ips=127.0.0.1:9651 --bootstrap-ids=NodeID-7Xhw2mDxuDS44j42TCB6U5579esbSt3Lg --staking-tls-cert-file=certs/keys5/staker.crt --staking-tls-key-file=certs/keys5/staker.key",
}

for key, cmd in ipairs(cmds) do
    avash_call(cmd)
end
Start avash and run the five_node_staking.lua script via the Avash shell.
cd /path/to/avash
./avash
avash> runscript scripts/five_node_staking.lua
Now open a new tab and run this curl
curl --location --request POST 'http://localhost:9650/ext/info' \
--header 'Content-Type: application/json' \
--data-raw '{
    "jsonrpc":"2.0",
    "id"     :1,
    "method" :"info.getNetworkName",
    "params" :{
    }
}'

{
    "jsonrpc": "2.0",
    "result": {
        "networkName": "local"
    },
    "id": 1
}
If you successfully completed each of the previous steps then your local avash network is good to go.
Inspect the network
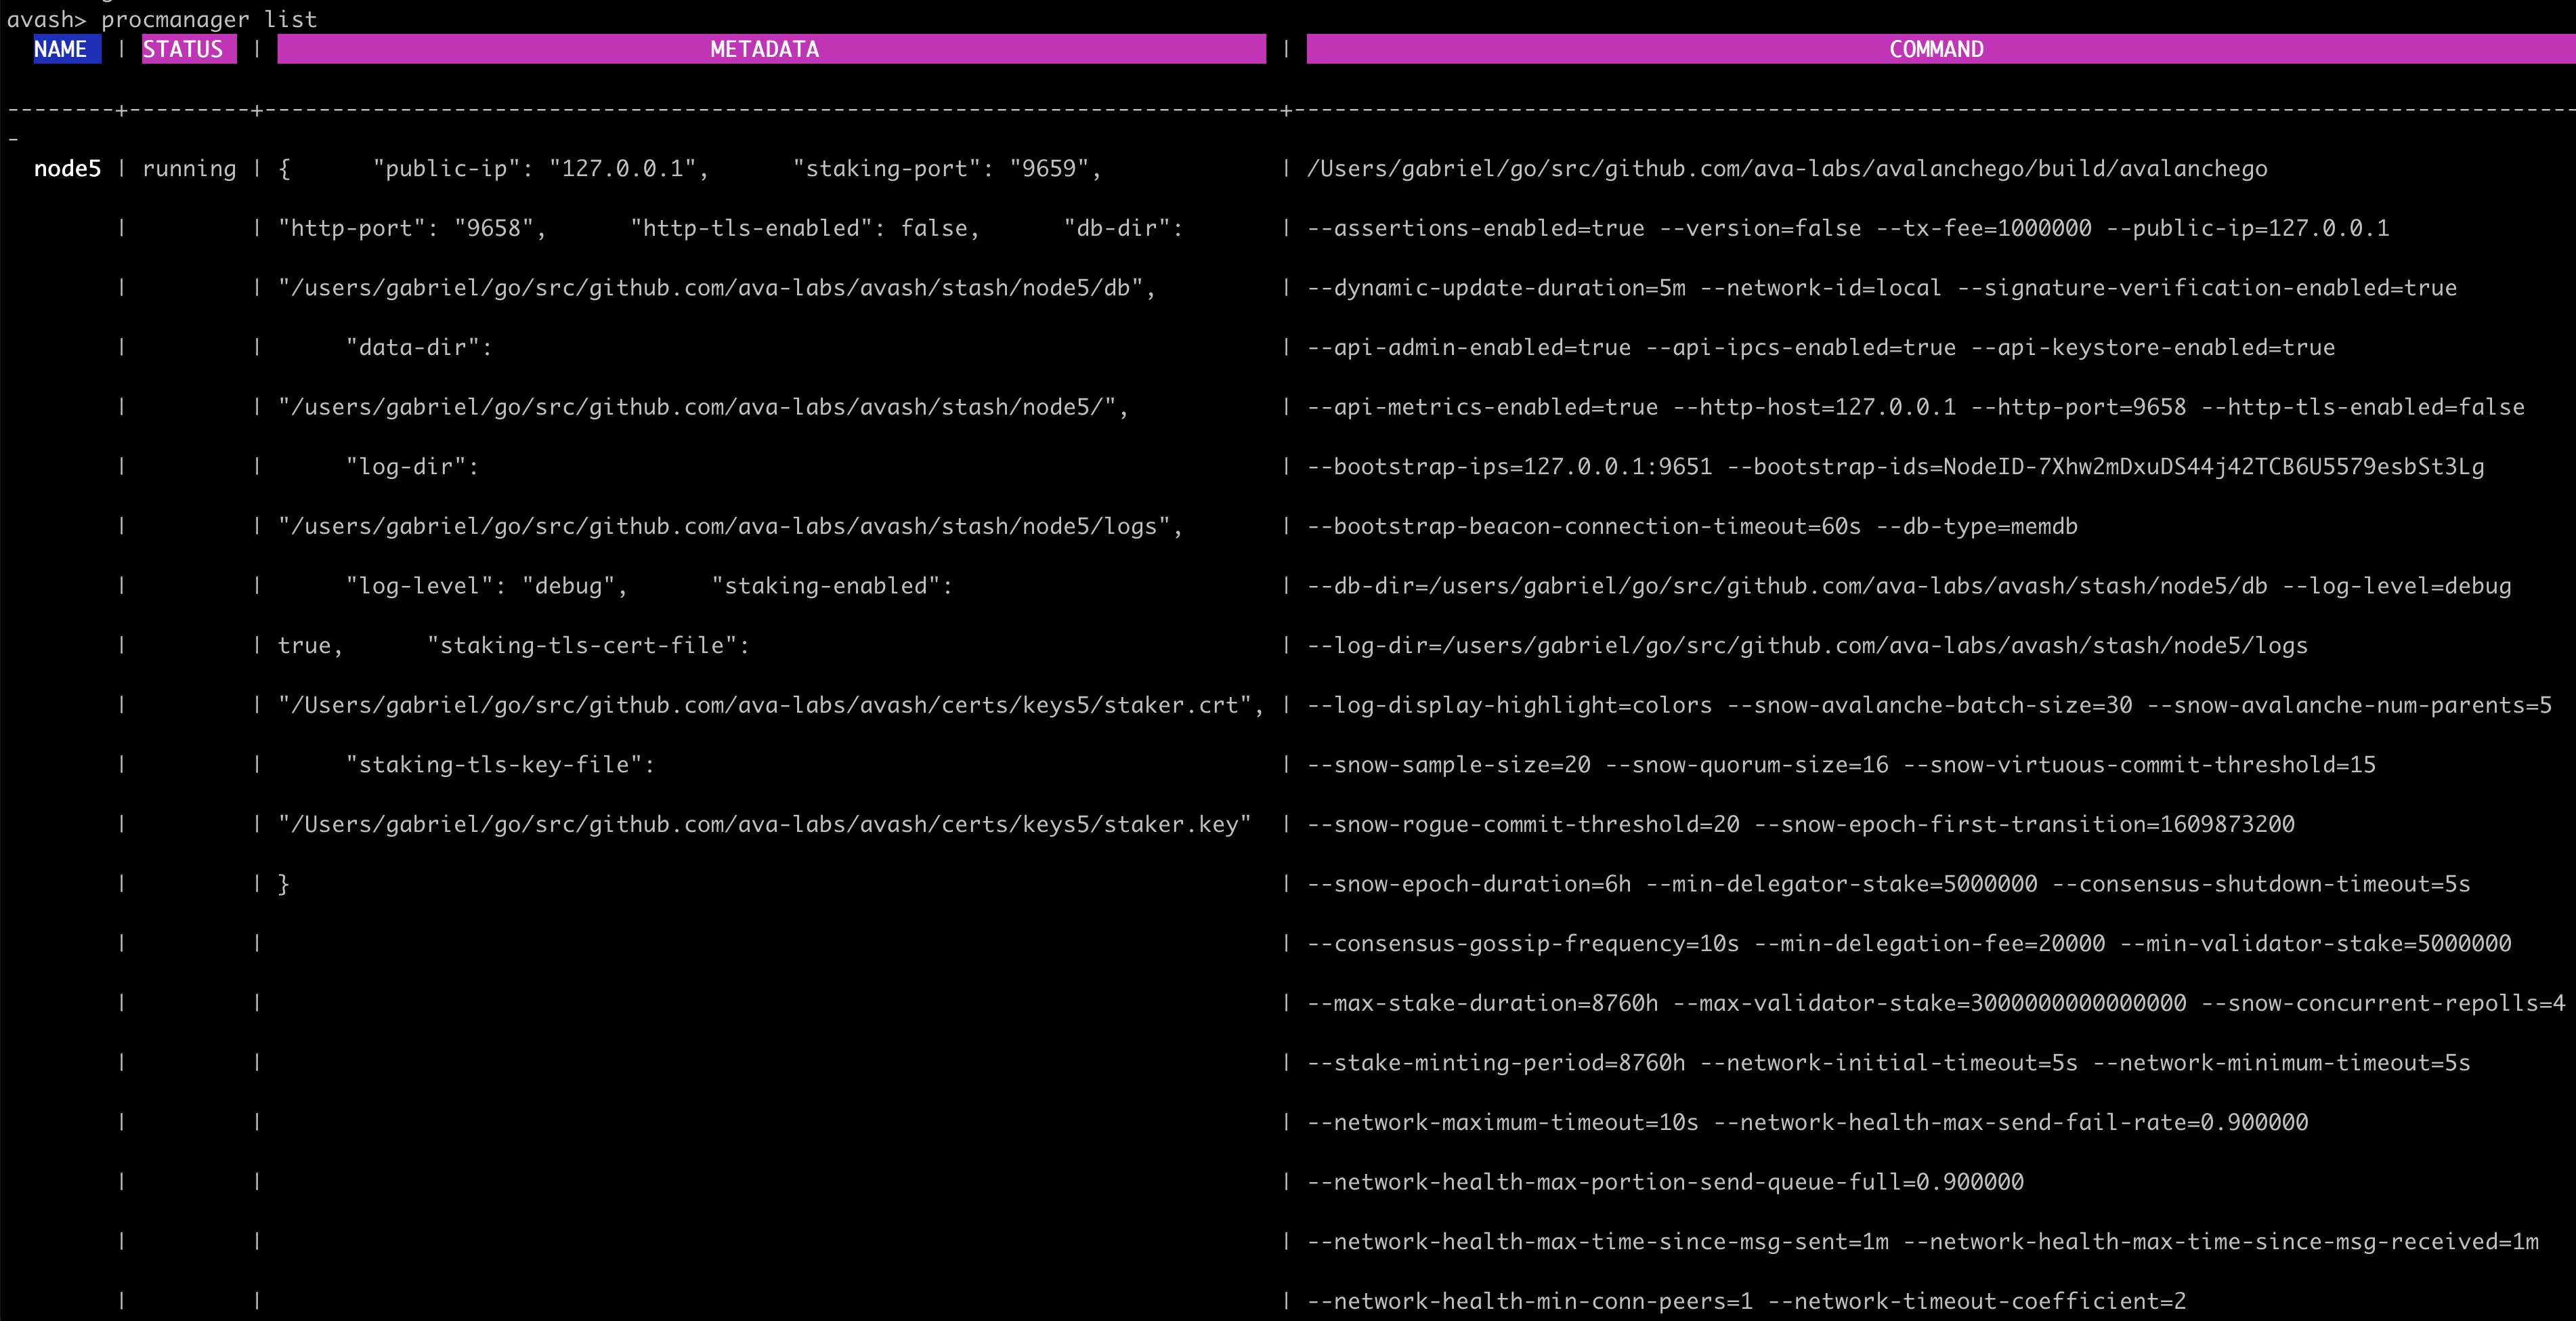
Avash's shell provides the procmanager command which enables you to list, stop, and start processes registered with the process manager.
Available Commands:
kill        Kills the process named if currently running.
killall     Kills all processes if currently running.
list        Lists the processes currently running.
metadata    Prints the metadata associated with the node name.
remove      Removes the process named.
removeall   Removes all processes.
start       Starts the process named if not currently running.
startall    Starts all processes if currently stopped.
stop        Stops the process named if currently running.
stopall     Stops all processes if currently running.
When you list all processes you can view the values of all the flags which were used to fire up that AvalancheGo instance.

Summary
Avash serves the critical function of enabling developers to test their work quickly in a highly configurable environment with non value-bearing assets. Each instance of AvalancheGo is a full node and Avash is an actual AvalancheGo network performing real consensus and producing real blocks and vertices.
If you're writing sofware for the Avalanche network then Avash should be a fundamental building block of your workflow. You should start each new project on a local Avash network and only after extensive testing and QA should you deploy your work to the Fuji testnet and ultimately mainnet.