Add a Node to the Validator Set
Introduction
The Primary Network is inherent to the Avalanche platform and validates Avalanche’s built-in blockchains. In this tutorial, we’ll add a node to the Primary Network on Avalanche.
The P-Chain manages metadata on Avalanche. This includes tracking which nodes are in which subnets, which blockchains exist, and which subnets are validating which blockchains. To add a validator, we’ll issue transactions to the P-Chain.
danger
Note that once you issue the transaction to add a node as a validator, there is no way to change the parameters. You can’t remove your stake early or change the stake amount, node ID, or reward address. Please make sure you’re using the correct values in the API calls below. If you’re not sure, browse the Developer FAQ's or ask for help on Discord.
Requirements
You've completed Run an Avalanche Node and are familiar with Avalanche's architecture. In this tutorial, we use Avalanche’s Postman collection to help us make API calls.
In order to ensure your node is well-connected, make sure that your node can receive and send TCP traffic on the staking port (9651 by default) and that you started your node with config flag --public-ip=[YOUR NODE'S PUBLIC IP HERE]. Failing to do either of these may jeopardize your staking reward.
Add a validator with Avalanche Wallet
First, we show you how to add your node as a validator by using Avalanche Wallet.
Get your node’s ID by calling info.getNodeID:

curl -X POST --data '{
    "jsonrpc":"2.0",
    "id"     :1,
    "method" :"info.getNodeID"
}' -H 'content-type:application/json;' 127.0.0.1:9650/ext/info
The response has your node’s ID:
{
    "jsonrpc": "2.0",
    "result": {
        "nodeID": "NodeID-5mb46qkSBj81k9g9e4VFjGGSbaaSLFRzD"
    },
    "id": 1
}
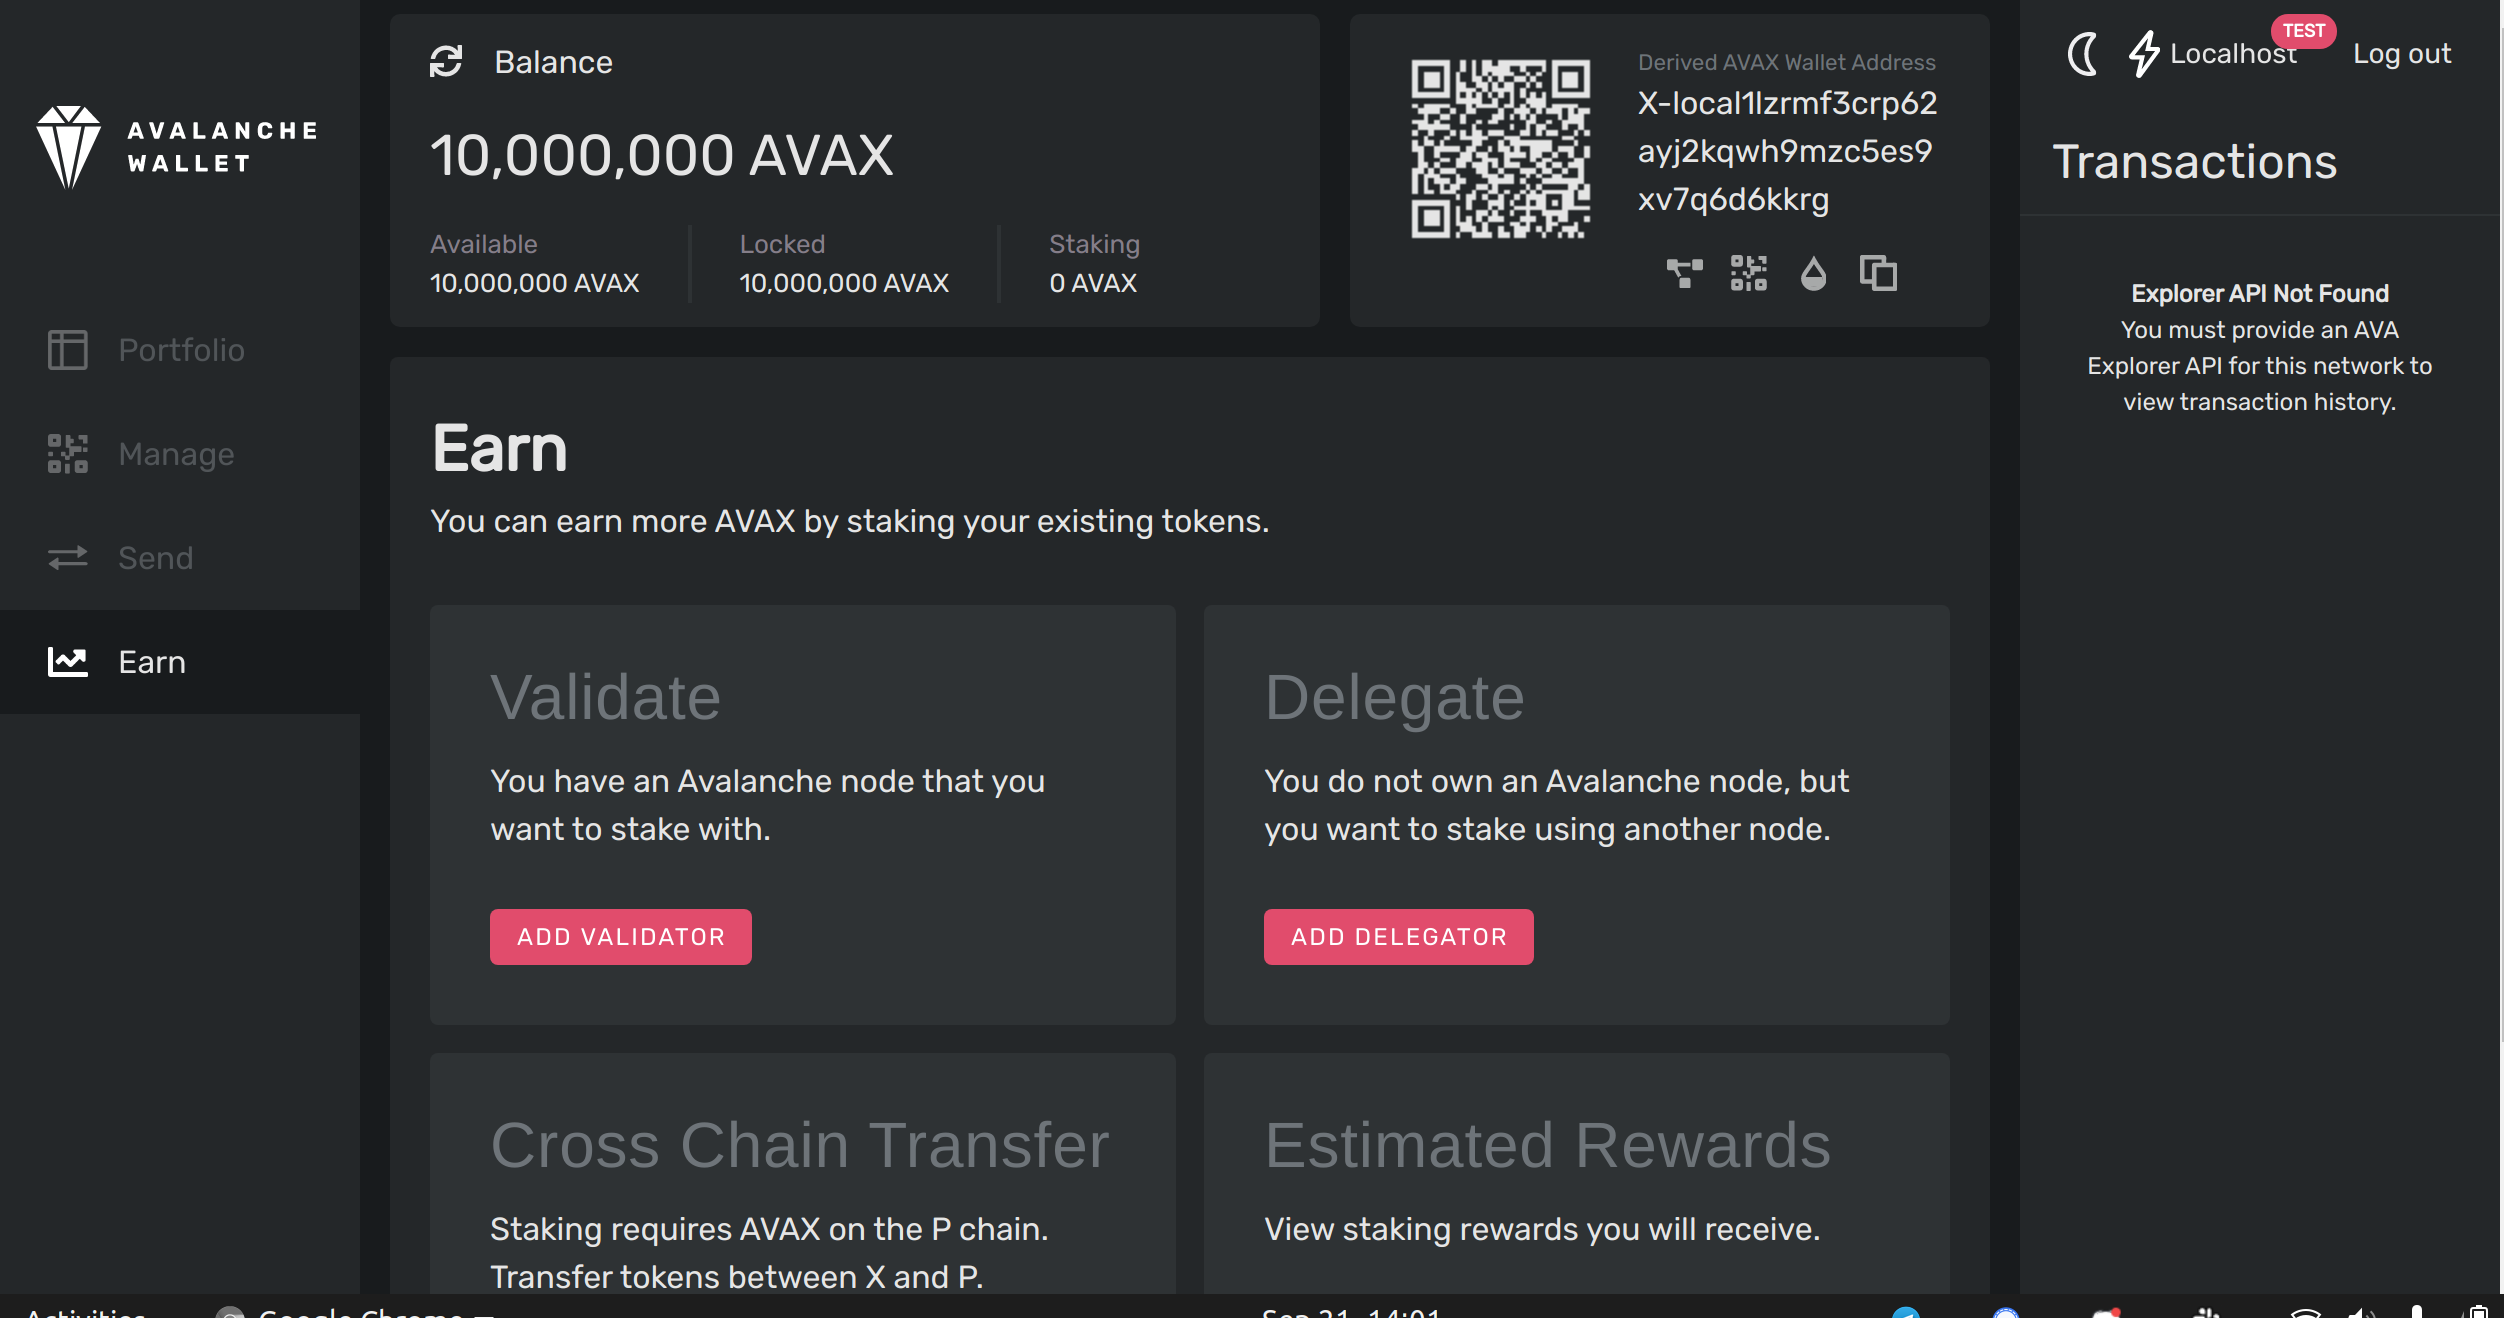
Open the wallet, and go the Earn tab. Choose Add Validator.
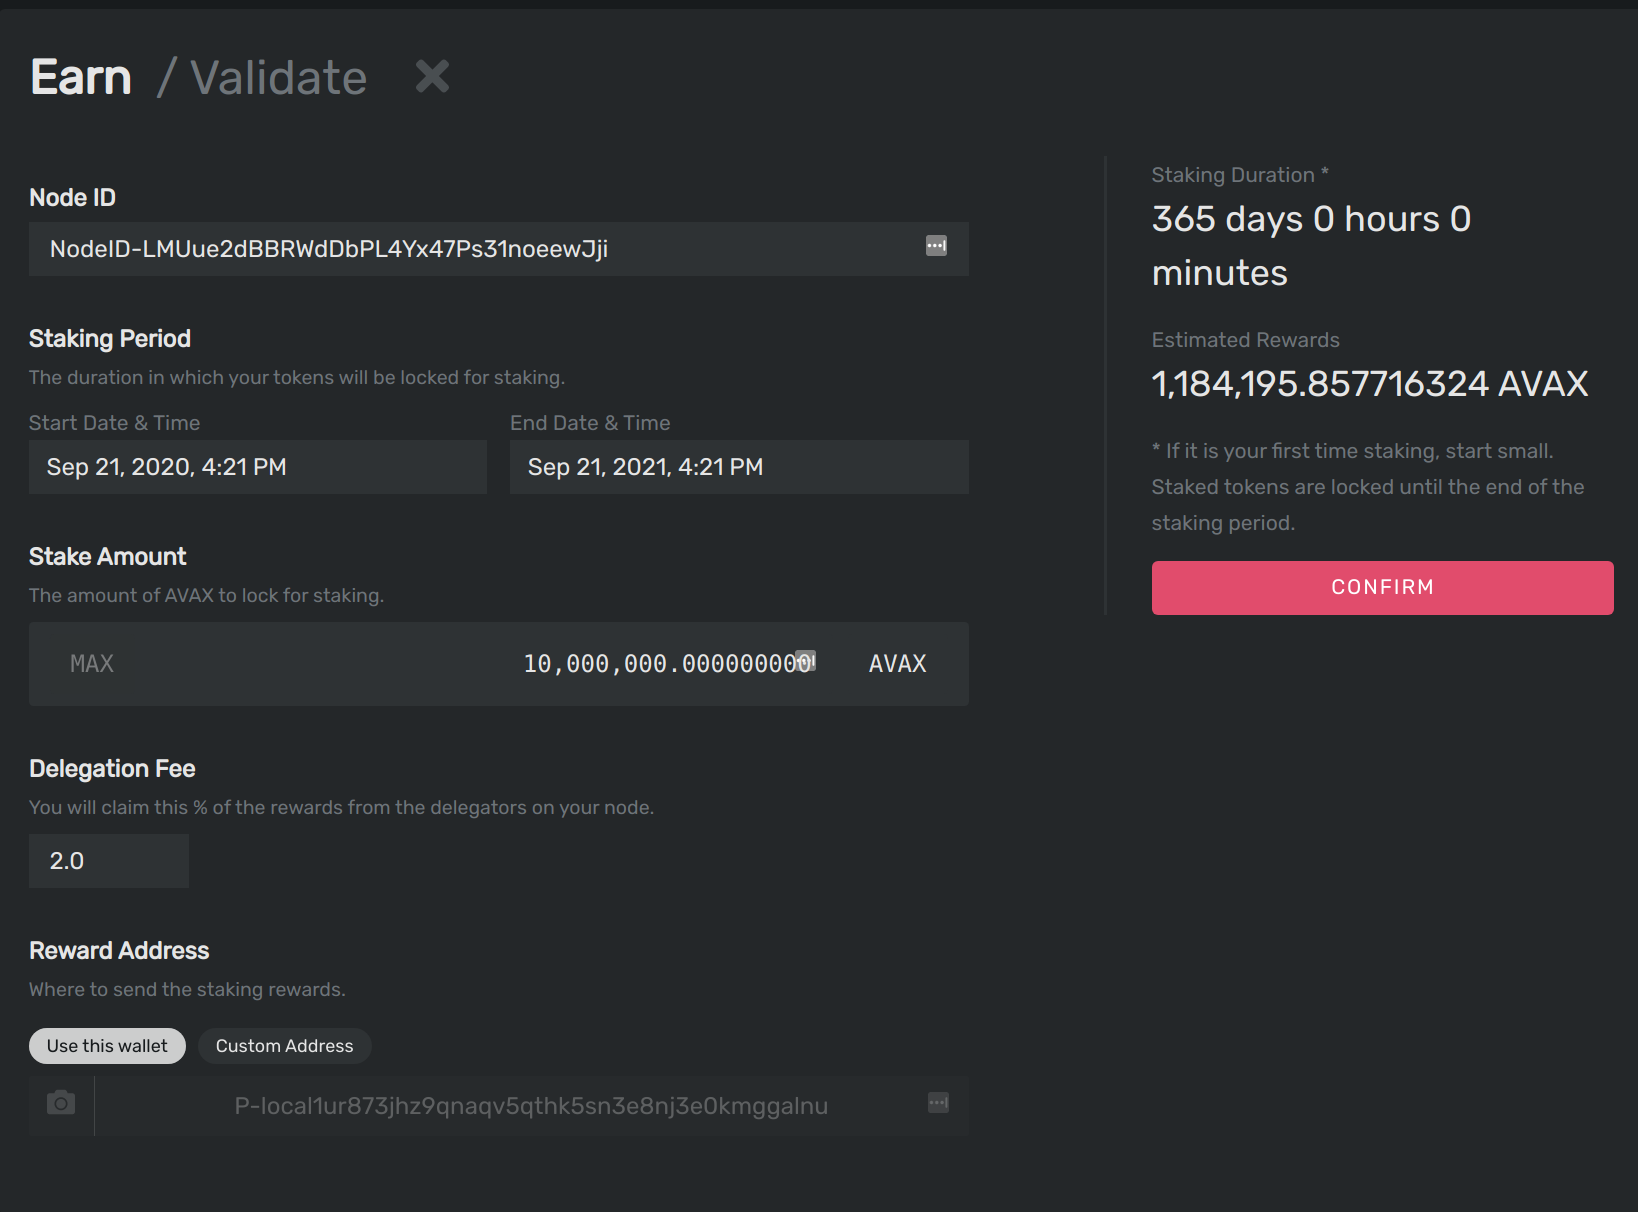
Fill out the staking parameters. They are explained in more detail in this doc. When you’ve filled in all the staking parameters and double-checked them, click Confirm. Make sure the staking period is at least 2 weeks, the delegation fee rate is at least 2%, and you’re staking at least 2,000 AVAX.
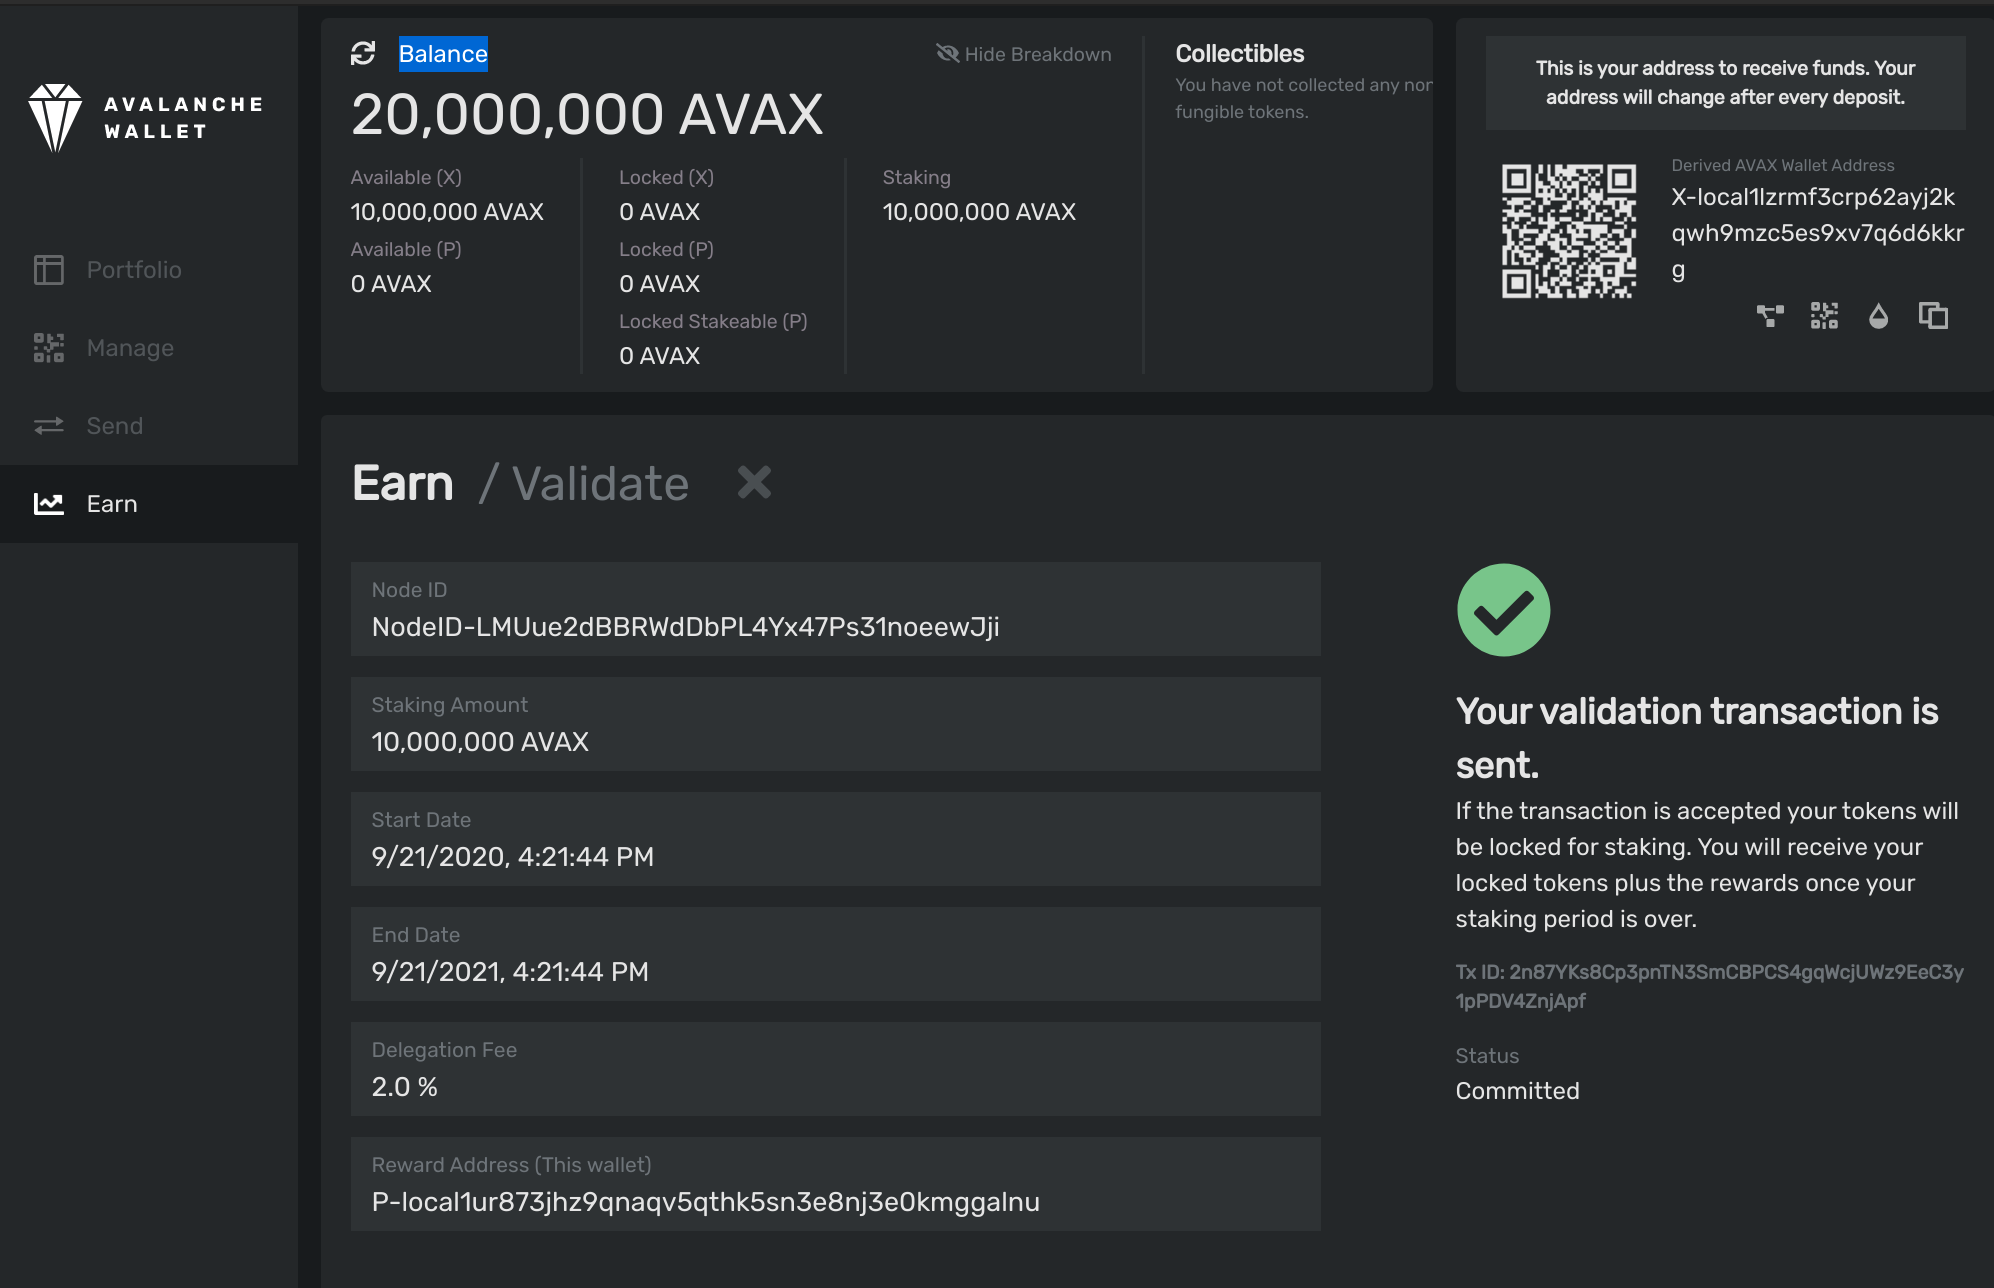
You should see this success message, and your balance should be updated.
Calling platform.getPendingValidators verifies that our transaction was accepted.

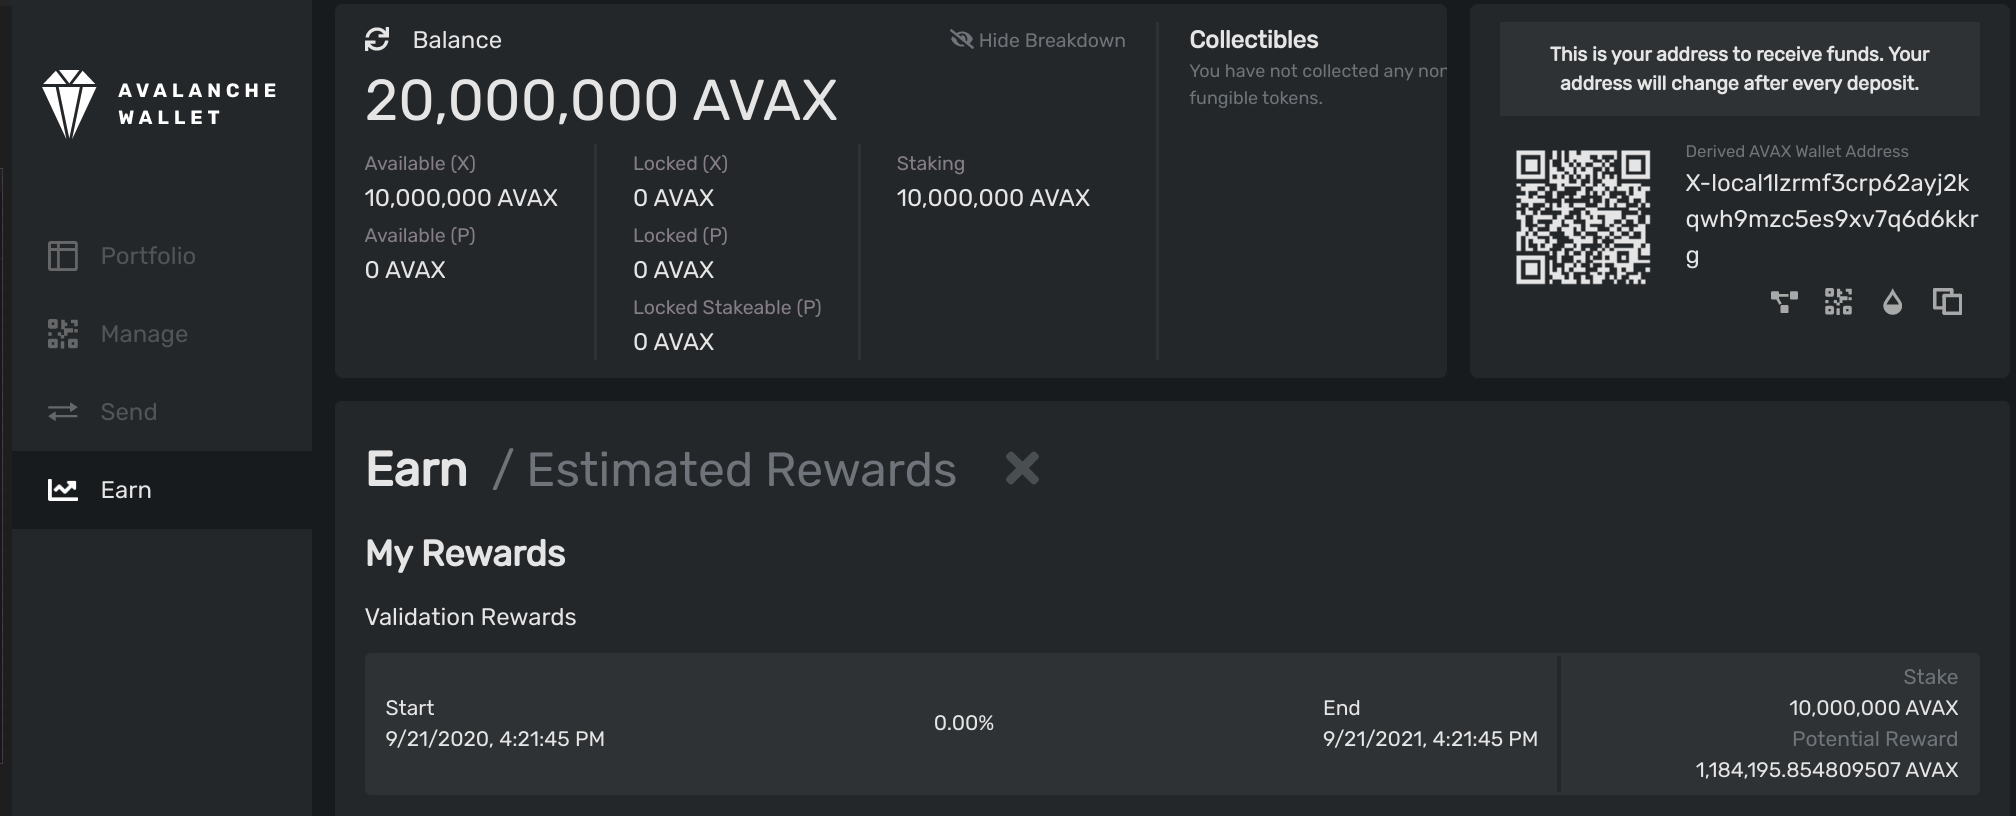
Go back to the Earn tab, and click Estimated Rewards.
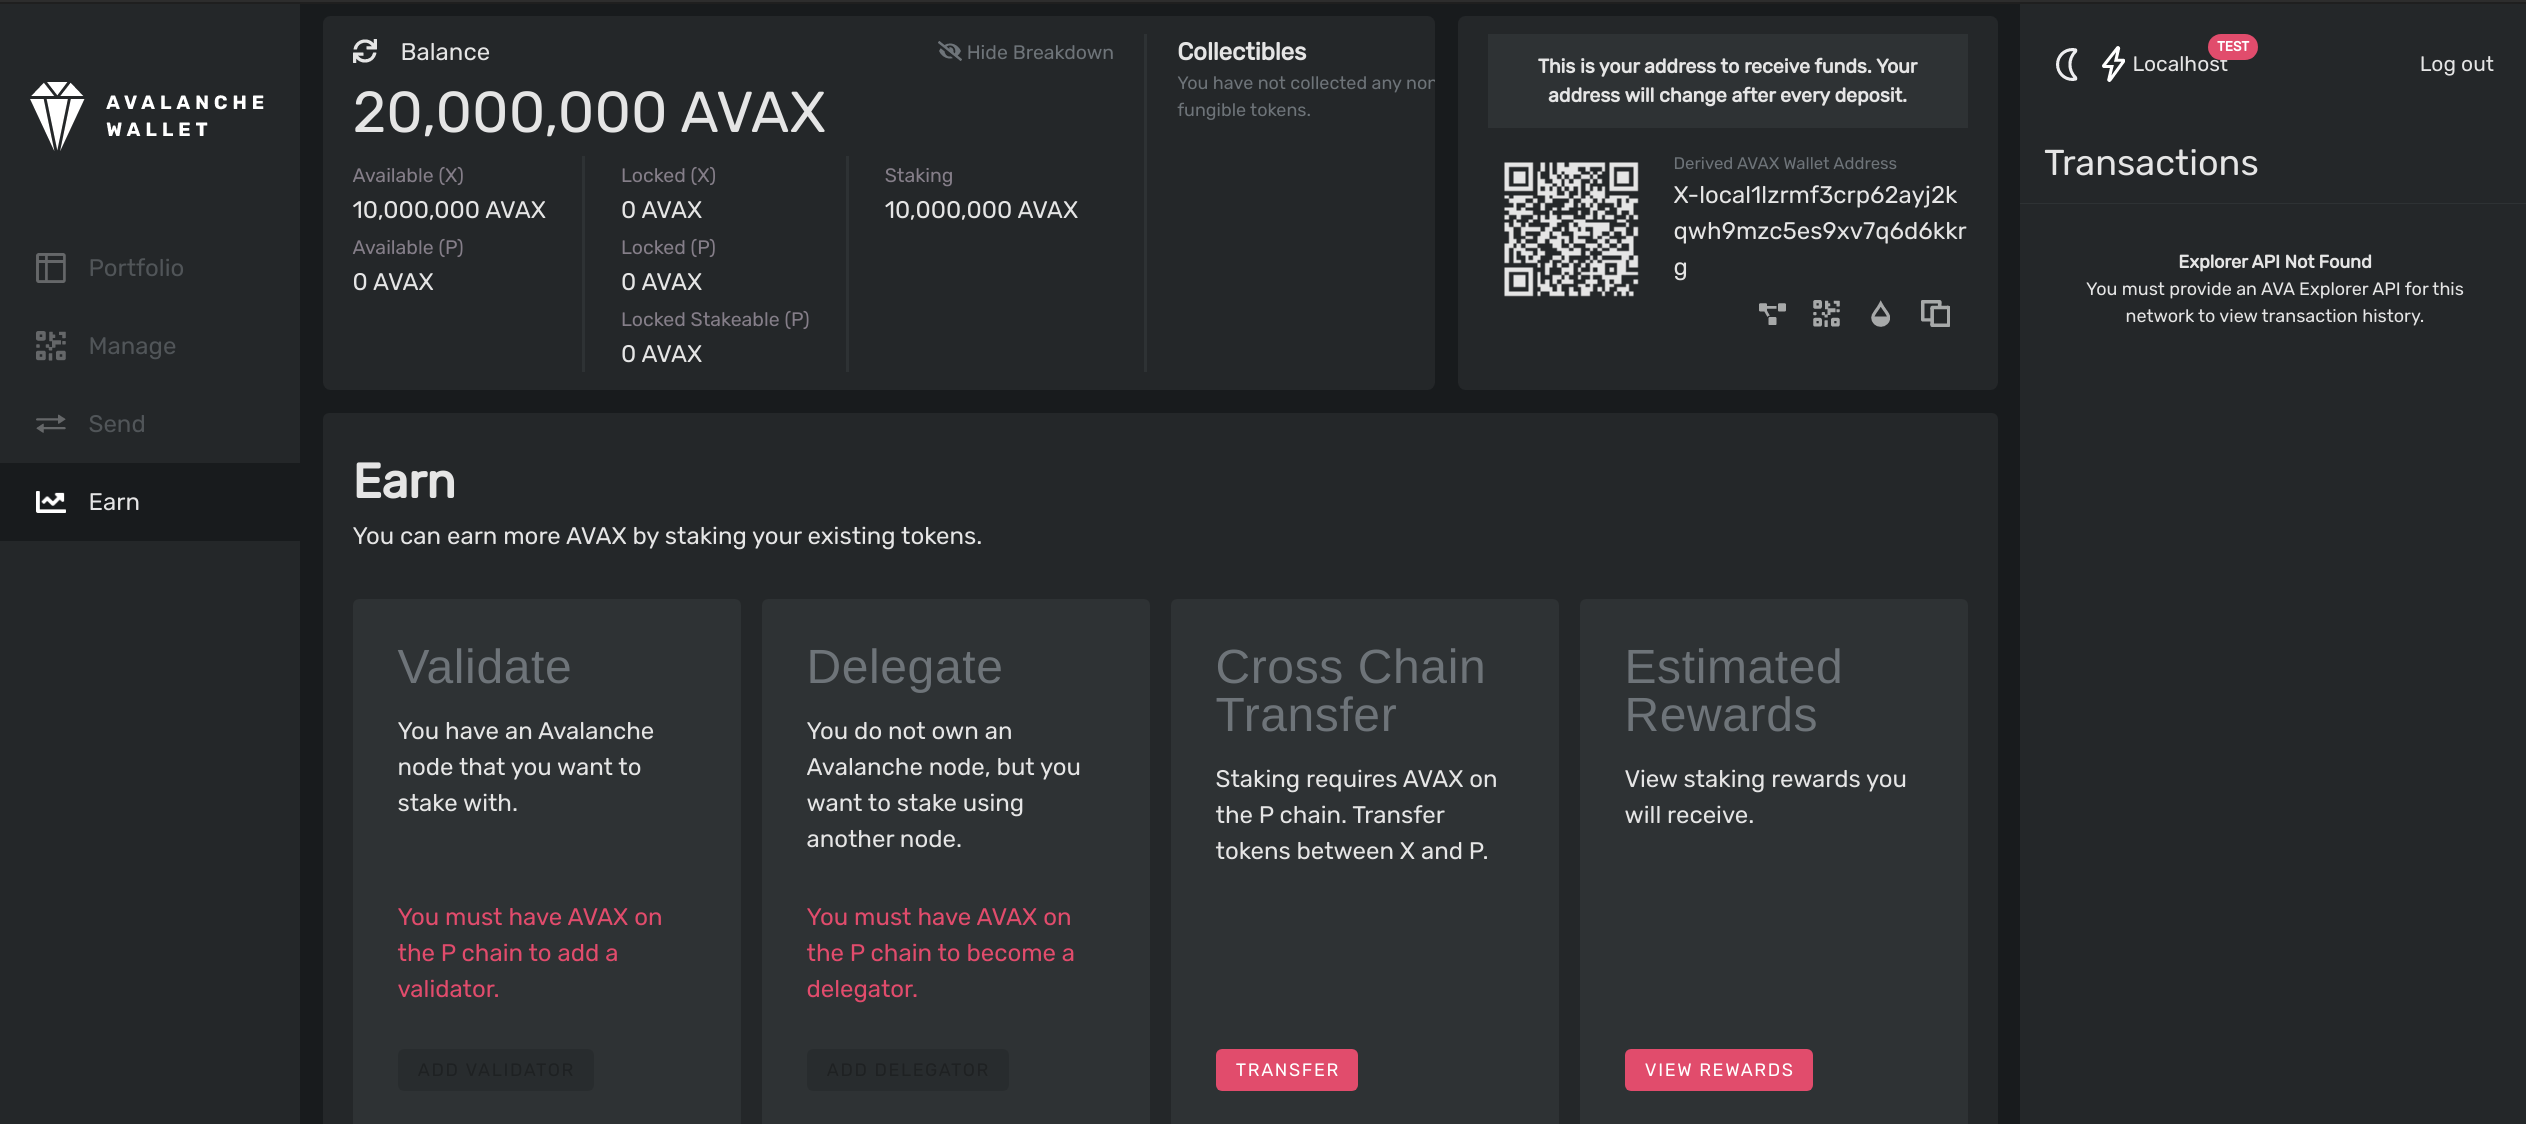
Once your validator’s start time has passed, you will see the rewards it may earn, as well as its start time, end time, and the percentage of its validation period that has passed.
That’s it!
Add a validator with API calls
We can also add a node to the validator set by making API calls to our node. To add a node the Primary Network, we’ll call platform.addValidator.
This method’s signature is:
platform.addValidator(
    {
        nodeID: string,
        startTime: int,
        endTime: int,
        stakeAmount: int,
        rewardAddress: string,
        changeAddr: string, (optional)
        delegationFeeRate: float,
        username: string,
        password: string
    }
) -> {txID: string}
Let’s go through and examine these arguments.
nodeID
This is the node ID of the validator being added. To get your node’s ID, call info.getNodeID:
curl -X POST --data '{
    "jsonrpc": "2.0",
    "method": "info.getNodeID",
    "params":{},
    "id": 1
}' -H 'content-type:application/json;' 127.0.0.1:9650/ext/info
The response has your node’s ID:
{
    "jsonrpc": "2.0",
    "result": {
        "nodeID": "NodeID-LMUue2dBBRWdDbPL4Yx47Ps31noeewJji"
    },
    "id": 1
}
startTime and endTime
When one issues a transaction to join the Primary Network they specify the time they will enter (start validating) and leave (stop validating.) The minimum duration that one can validate the Primary Network is 24 hours, and the maximum duration is one year. One can re-enter the Primary Network after leaving, it’s just that the maximum continuous duration is one year. startTime and endTime are the Unix times when your validator will start and stop validating the Primary Network, respectively. startTime must be in the future relative to the time the transaction is issued.
stakeAmount
In order to validate the Primary Network, one must stake AVAX. This parameter defines the amount of AVAX staked.
rewardAddress
When a validator stops validating the Primary Network, they will receive a reward if they are sufficiently responsive and correct while they validated the Primary Network. These tokens are sent to rewardAddress. The original stake will be sent back to an address controlled by username.
A validator’s stake is never slashed, regardless of their behavior; they will always receive their stake back when they’re done validating.
changeAddr
Any change resulting from this transaction will be sent to this address. You can leave this field empty; if you do, change will be sent to one of the addresses your user controls.
delegationFeeRate
Avalanche allows for delegation of stake. This parameter is the percent fee this validator charges when others delegate stake to them. For example, if delegationFeeRate is 1.2345 and someone delegates to this validator, then when the delegation period is over, 1.2345% of the reward goes to the validator and the rest goes to the delegator.
username and password
These parameters are the username and password of the user that pays the transaction fee, provides the staked AVAX, and to whom the staked AVAX will be returned.
Now let’s issue the transaction. We use the shell command date to compute the Unix time 10 minutes and 30 days in the future to use as the values of startTime and endTime, respectively. (Note: If you’re on a Mac, replace $(date with $(gdate. If you don’t have gdate installed, do brew install coreutils.) In this example we stake 2,000 AVAX (2 x 1012 nAVAX).
curl -X POST --data '{
    "jsonrpc": "2.0",
    "method": "platform.addValidator",
    "params": {
        "nodeID":"NodeID-LMUue2dBBRWdDbPL4Yx47Ps31noeewJji",
        "startTime":'$(date --date="10 minutes" +%s)',
        "endTime":'$(date --date="30 days" +%s)',
        "stakeAmount":2000000000000,
        "rewardAddress":"P-avax1d4wfwrfgu4dkkyq7dlhx0lt69y2hjkjeejnhca",
        "changeAddr": "P-avax103y30cxeulkjfe3kwfnpt432ylmnxux8r73r8u",
        "delegationFeeRate":10,
        "username":"USERNAME",
        "password":"PASSWORD"
    },
    "id": 1
}' -H 'content-type:application/json;' 127.0.0.1:9650/ext/P
The response has the transaction ID, as well as the address the change went to.
{
    "jsonrpc": "2.0",
    "result": {
        "txID": "6pb3mthunogehapzqmubmx6n38ii3lzytvdrxumovwkqftzls",
        "changeAddr": "P-avax103y30cxeulkjfe3kwfnpt432ylmnxux8r73r8u"
    },
    "id": 1
}
We can check the transaction’s status by calling platform.getTxStatus:
curl -X POST --data '{
    "jsonrpc": "2.0",
    "method": "platform.getTxStatus",
    "params": {
        "txID":"6pb3mthunogehapzqmubmx6n38ii3lzytvdrxumovwkqftzls"
    },
    "id": 1
}' -H 'content-type:application/json;' 127.0.0.1:9650/ext/P
The status should be Committed, meaning the transaction was successful. We can call platform.getPendingValidators and see that the node is now in the pending validator set for the Primary Network:
curl -X POST --data '{
    "jsonrpc": "2.0",
    "method": "platform.getPendingValidators",
    "params": {},
    "id": 1
}' -H 'content-type:application/json;' 127.0.0.1:9650/ext/P
The response should include the node we just added:
{
    "jsonrpc": "2.0",
    "result": {
        "validators": [
            {
                "nodeID": "NodeID-LMUue2dBBRWdDbPL4Yx47Ps31noeewJji",
                "startTime": "1584021450",
                "endtime": "1584121156",
                "stakeAmount": "2000000000000",
            }
        ]
    },
    "id": 1
}
When the time reaches 1584021450, this node will start validating the Primary Network. When it reaches 1584121156, this node will stop validating the Primary Network. The staked AVAX will be returned to an address controlled by username, and the rewards, if any, will be given to rewardAddress.
Adding Validators to a Subnet
This tutorial will show you how to add validators to a subnet.