How to Use Ledger Nano S or Nano X With Avalanche
The industry standard for safely securing cryptocurrencies is hardware wallets, specialized devices that provide full isolation between your computer and your private keys.
If you want to use the Avalanche address you created earlier, you need to use the restore from recovery phrase procedure using mnemonic phrase you got from the Avalanche wallet. If you're setting up a fresh address, just follow regular set up as new device procedure.
The Avalanche Ledger wallet app is available via Ledger Live.
How to Set Up Avalanche on Ledger Live
First, you’ll need to install Ledger Live. There’s a download for MacOS, Windows and Linux as well as iOS and Android.
danger
Make sure you have the latest version of the Ledger Live application before proceeding. Older versions may not show the latest device firmware and Avalanche app version. The latest Ledger Live app version at the time of writing is 2.36.3. Also please make sure that the latest firmware has been installed on the ledger device.
After successfully installing the app run it. Go to the "Manager" tab, and allow device management by pressing both buttons on the device. In the App Catalog search field enter "Avalanche". Confirm that the Avalanche app is v0.5.9 (or greater), and click the "Install" button.
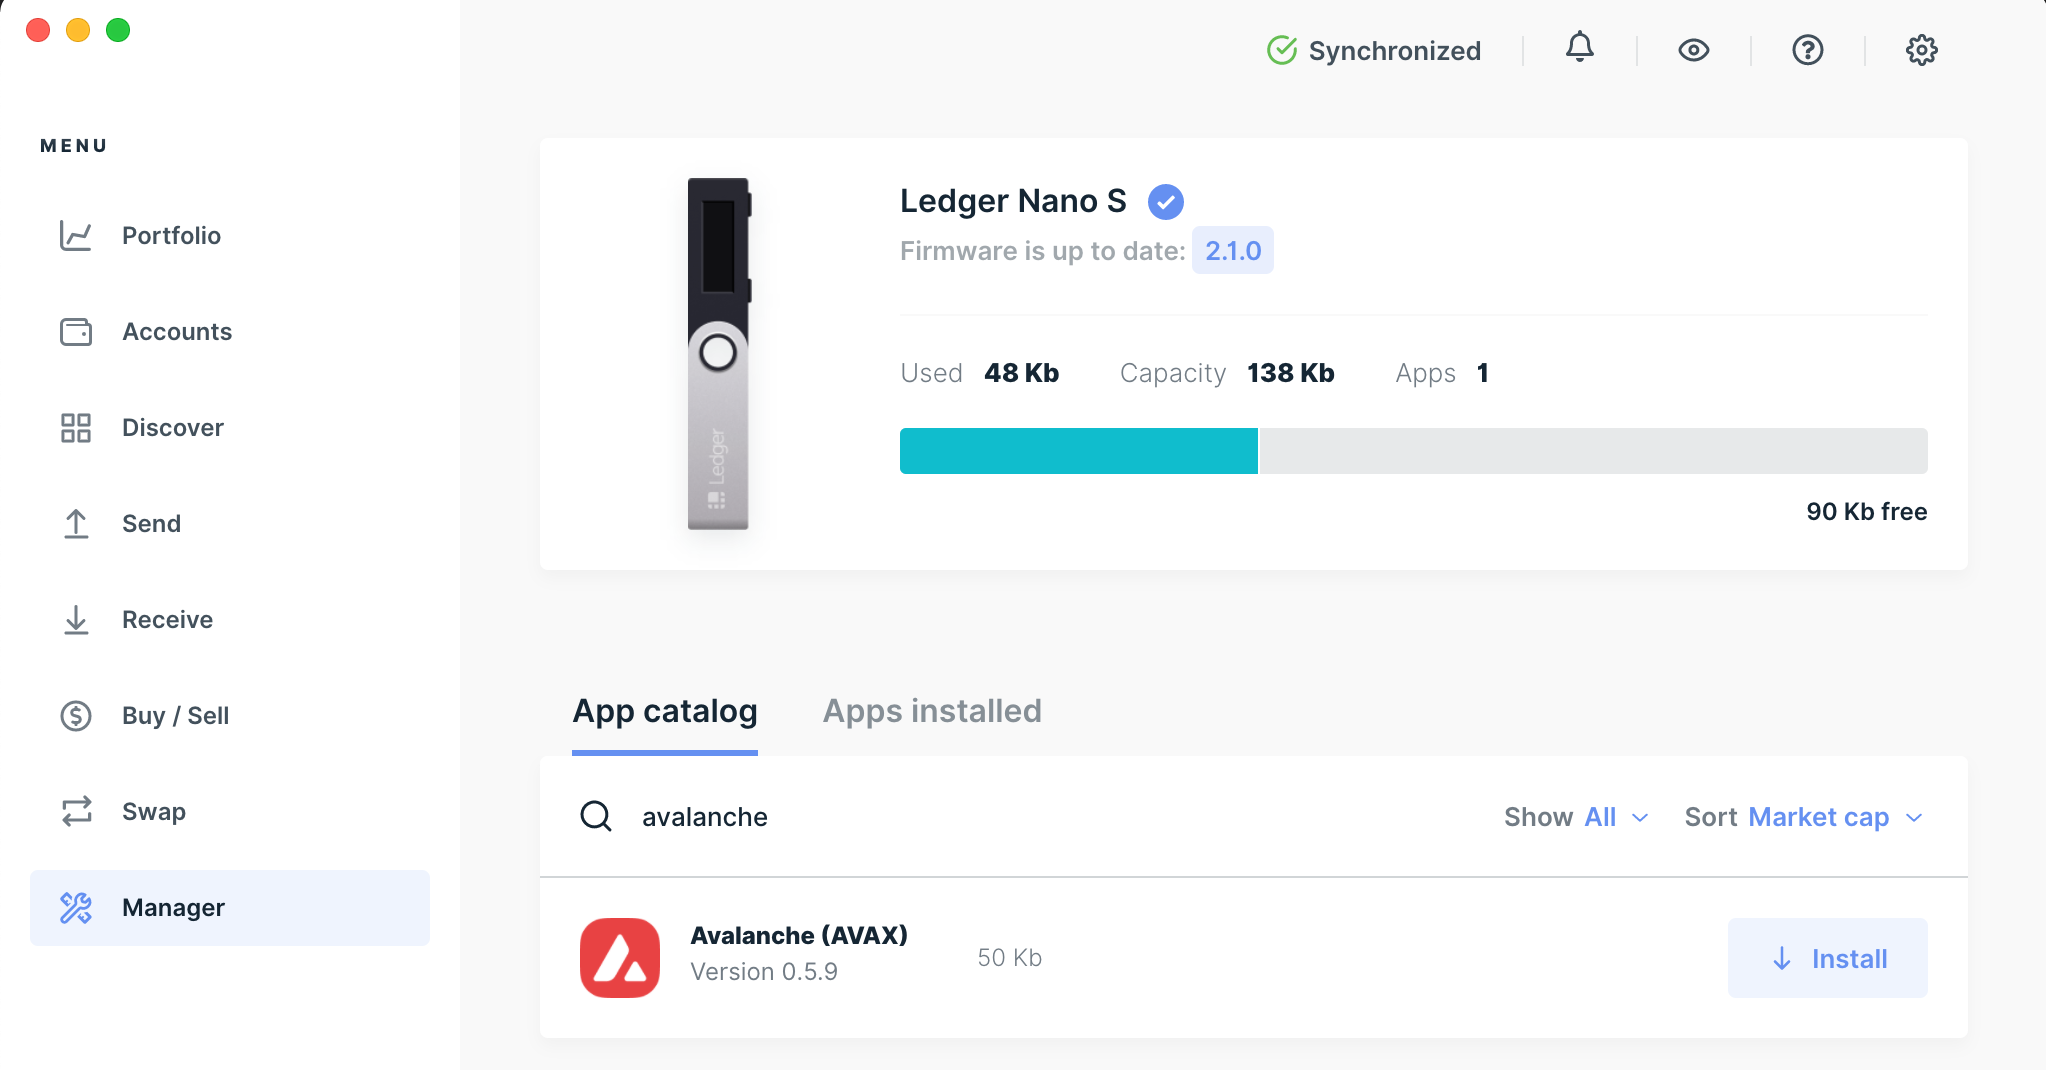
You can confirm the installation was successful by going to the "Apps installed" tab where you should see Avalanche v0.5.9.

Use the Avalanche Wallet with Ledger
Once you have the Avalanche app installed then you’re able to interact with the Avalanche Wallet via the Ledger. This includes sending AVAX, tokens, NFTs, cross-chain swaps as well as staking or delegating.
First, to access the wallet, plug in the Ledger to your computer and enter your pin.

If you have more than one app installed on the device, use left and right buttons to select Avalanche app:

Press both buttons to start the app. You should land on the "Avalanche" app screen where you can confirm that the app is version 0.5.9 (or greater).

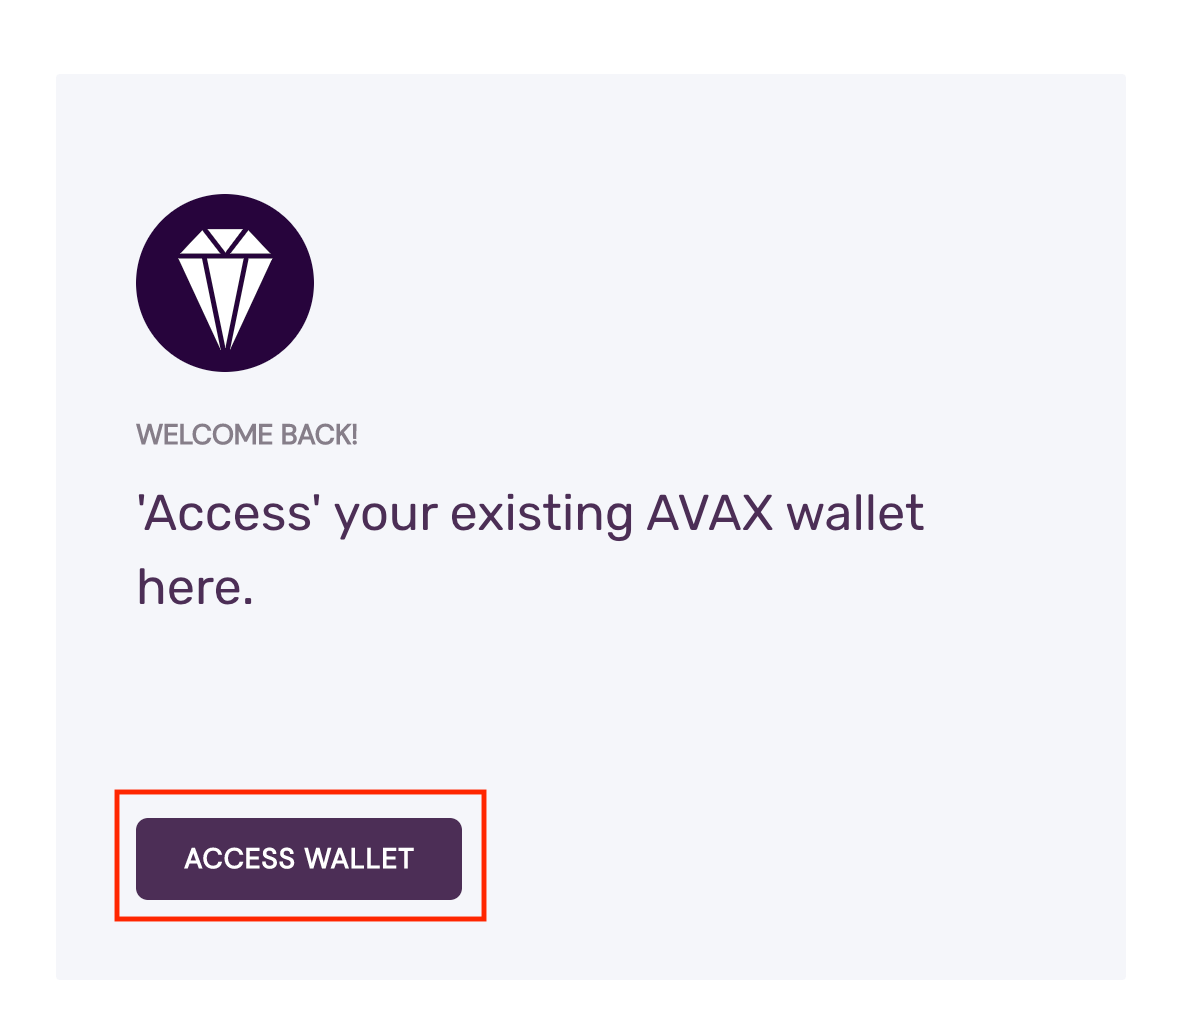
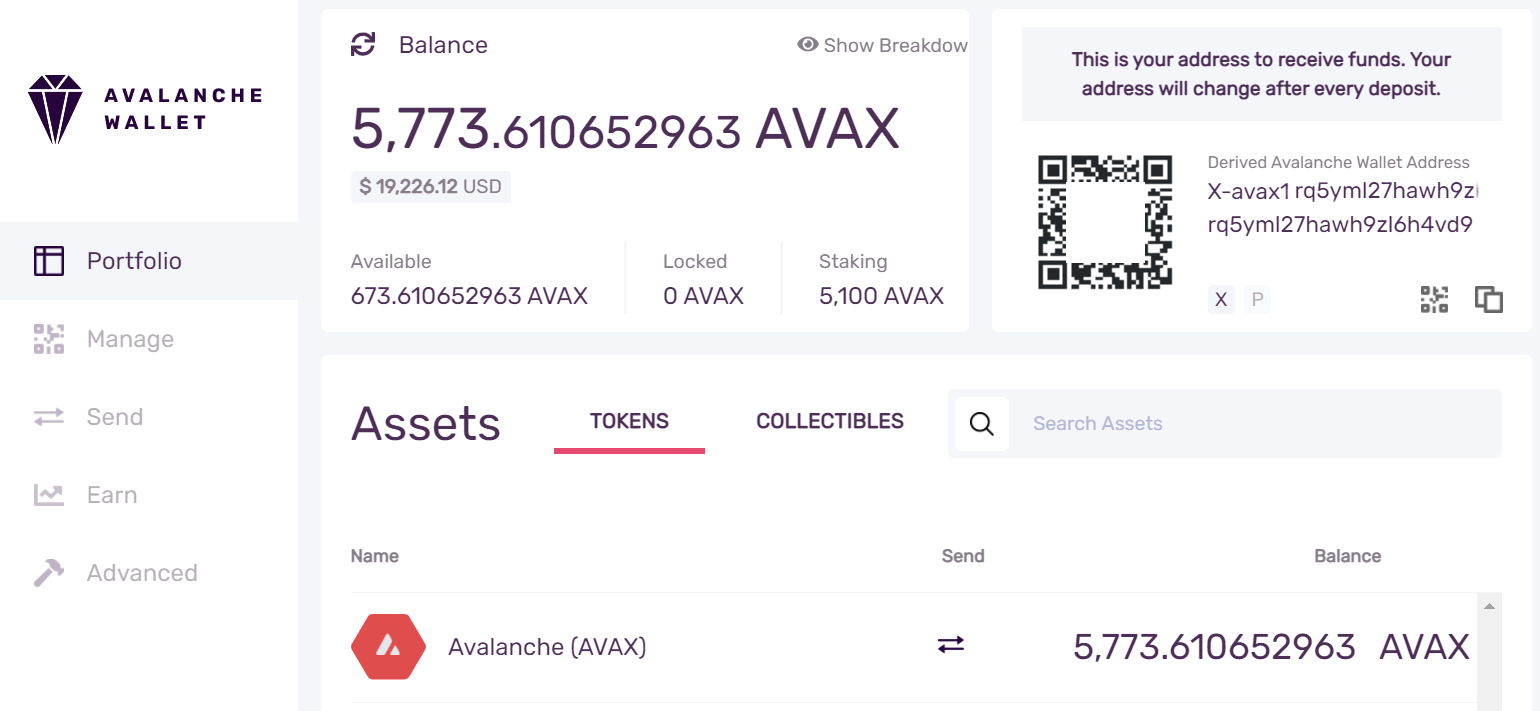
After you confirm that the Avalanche app is running then on the wallet homepage click the "Access Wallet" button.
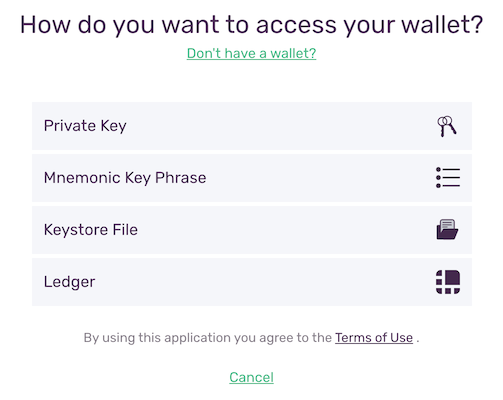
On the subsequent "How do you want to access your wallet?", click the "Ledger" button.
You’ll now be prompted to confirm access to the public keys on your Ledger device. Click right button through the prompts on the device and on the last screen confirm by pressing both buttons.
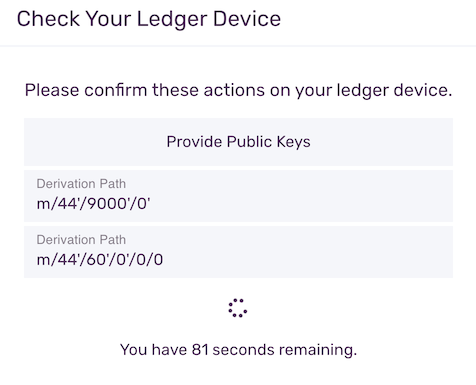
You will need to do this twice, because different keys are used for different chains. If successful you will be signed into the wallet and any previous balances will be displayed.
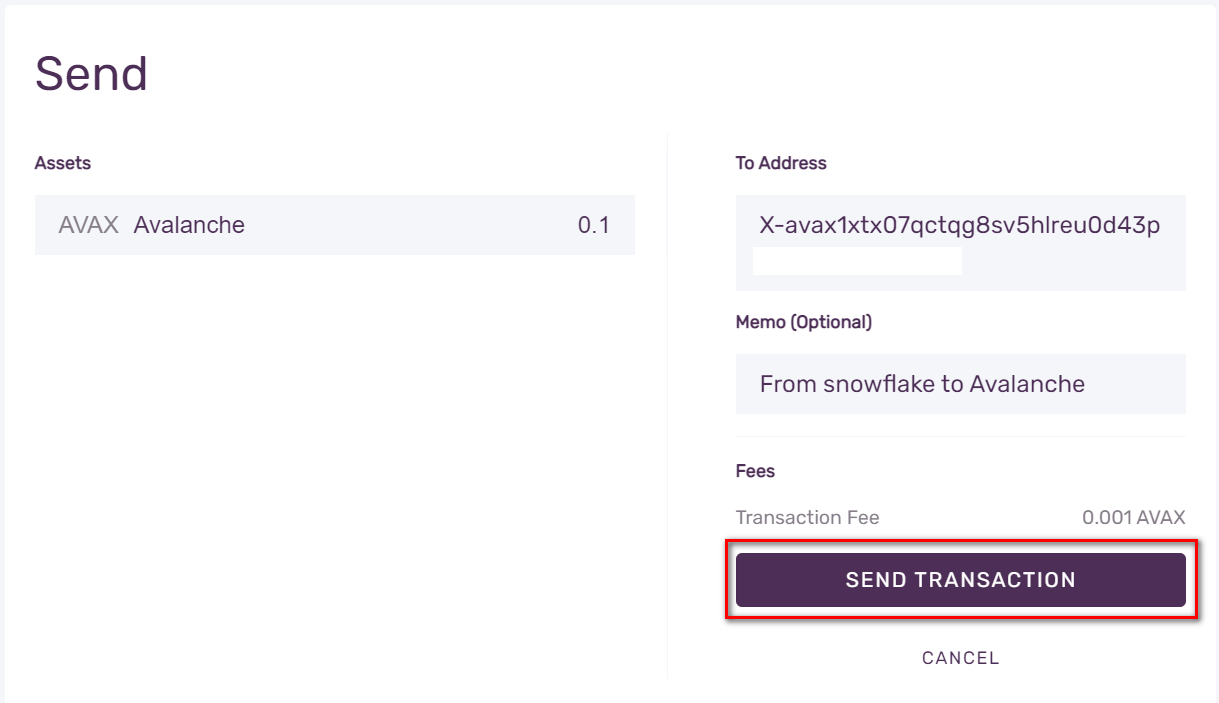
To transfer funds, go to the "Send" tab and paste an X-Address into the "To Address" field. Set an amount and optionally set a memo. Press "Confirm" and then the "Send Transaction" button.
You’ll be prompted to confirm the action on your Ledger. Check that the hash which is displayed in the web wallet matches what is displayed on your Ledger. If everything matches then confirm by pressing both buttons on the last screen to send the transaction.

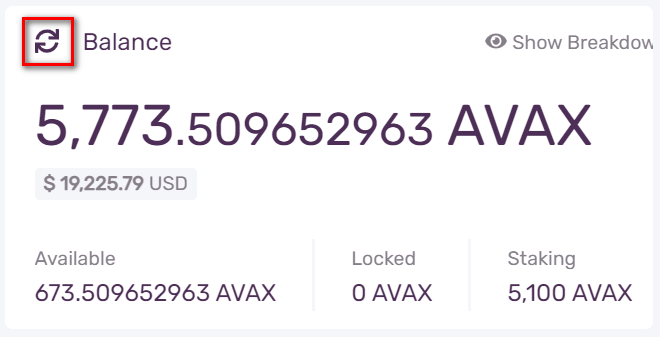
You can click the icon to refresh your balance and you should see it decrease per the amount which you just sent and the transaction fee.
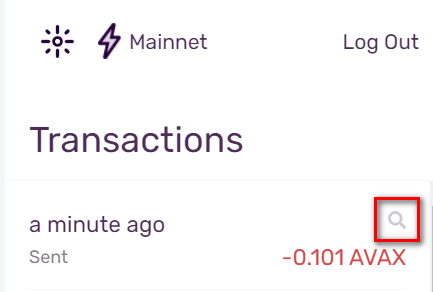
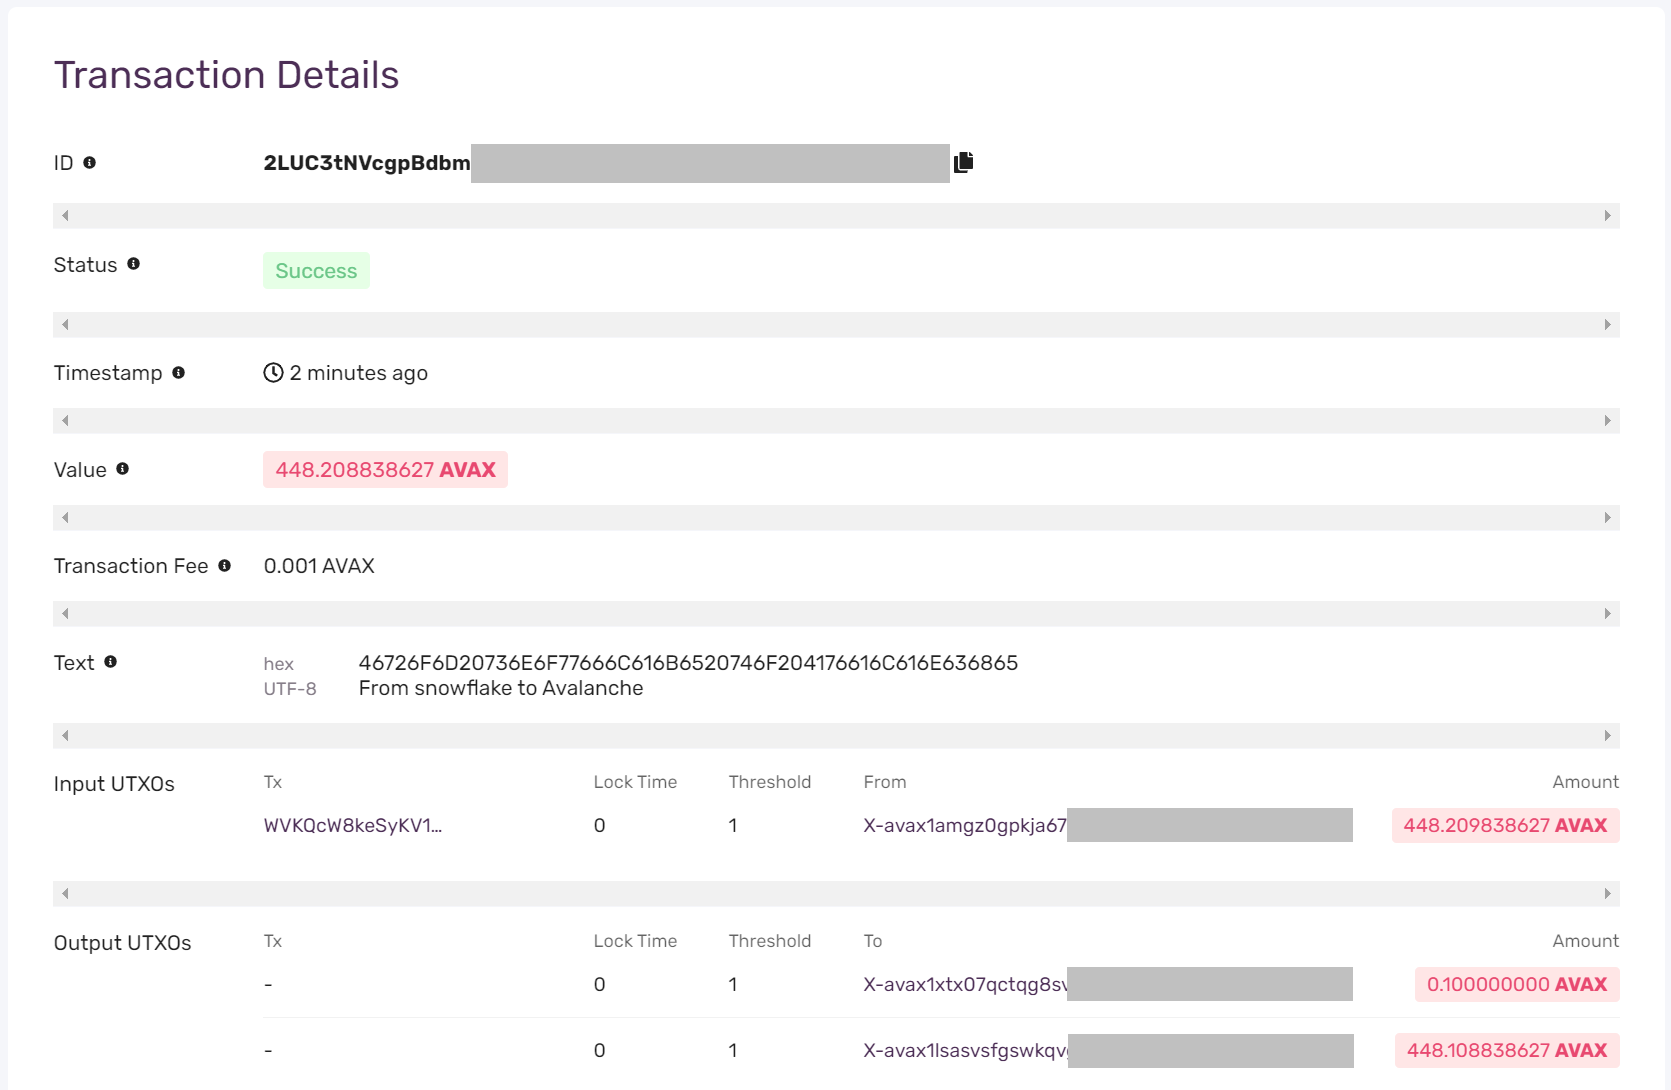
In the right-hand column, you will see your latest transaction. Clicking the magnifying glass icon will open the transaction in our explorer.
Finally, you should be able to see the transaction details in our explorer. This lists everything about the transaction, including transaction ID, status, when the transaction occurred, and all of the information regarding inputs and outputs.
More Tools to Come
Ava Labs is building the Internet of Finance. We’re developing solutions to create a frictionless world by redefining the way people build and use finance applications. A critical part of this infrastructure is a hardware wallet so users can be totally confident that their private keys and coins are completely isolated from any potentially malicious actors. Our newly released Ledger app does just this by following industry best practices to keep users and coins safe and secure.